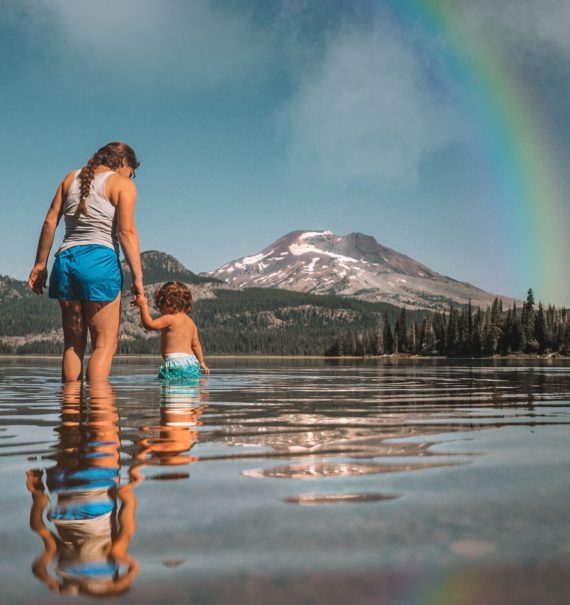
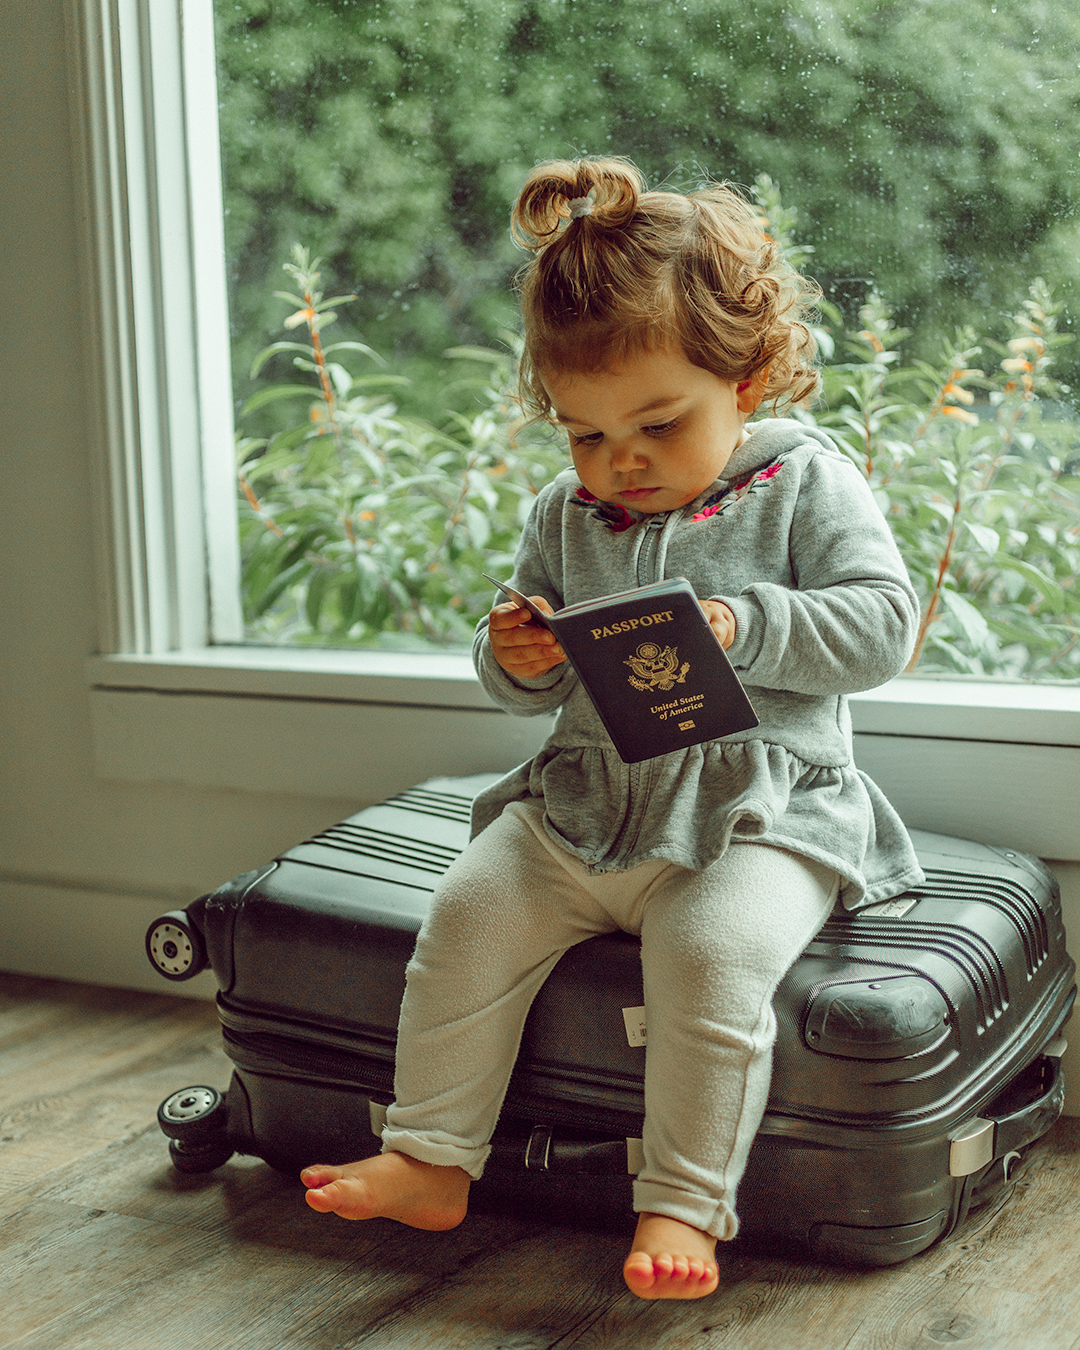
We recently took a trip to Australia with our one-year-old daughter Olive! Australia has become a second home to us because pre-baby we visited nearly every year for work. This year we were excited to return as a family of three, but a bit nervous about taking our toddler on such a long flight!

Our flight on Virgin Australia was 14 hours! Tack on a two hour drive to and from the airport, we we’re looking at nearly 20 hours of travel. We went on a 5-hour flight when Olive was 3-months-old – a much easier journey than our recent trip to Australia! Since we were frequent flyers pre-parenthood, we always planned to travel as much as possible as a family. Still, the thought of being on a plane with hundreds of people including my very active toddler made me feel uneasy, to say the least.
Flying with a baby is hard, but flying with a toddler is next level. They are mobile, loud, and incapable of reason! I was worried about bringing her on such a long flight. All the baby gear I would need to bring, bothering other passengers, and what to do if she couldn’t sleep.
Matt was offered work in Australia so we decided to take the plunge and make it a family vacation, and I’m happy to say the flight was a success! We made it down under (and back!) with less stress than I anticipated. I learned SO much along the way and I’m happy to share travel tips for your next adventure.
Travel tips that will make flying easier for everyone:
1. Decide if you want to fly with your toddler in your lap or buy them their own a seat
Until your child turns two they are eligible to fly for free as a “lap child.” This is a great option, especially with more expensive international travel prices. Although airline safety experts say it’s safest for your child to have their own seat. Until the law changes you can choose to have your child on your lap or buy them a seat. If you can swing it financially, you may prefer them having their own seat. Olive will be 2 years old next year so until then we love taking advantage of her flying for free! The choice is ultimately up to you! Think about your child’s demeanor and personality. Also, consider the length and time of the flight.
2. Choose the right flight time
We chose to take a redeye to Australia. Since the flight left late in the evening we figured Olive could potentially sleep during her normal bedtime, typically 10-12 hours. Rather than juggling a very busy toddler for the entire 14 hour flight! I highly recommend redeyes for flights over 10 hours.
For shorter flights, consider your child’s sleep schedule and what time would be ideal. It’s typically best to avoid early morning flights, say 5-6 am. That way your child can get up at a reasonable hour and get a full night of sleep the night before a day of travel. Mid-morning or early afternoon flights are usually best so you can arrive at the airport, get through security and on the plane before naptime and crankiness rolls around!
3. Call ahead and request the bassinet (even if your baby or toddler won’t use it!)
When traveling internationally you can call the airline after booking your ticket and request a bassinet. The airplane bassinet has a weight limit dependent on the airline and aircraft. This information can be found on their website, or just simply ask when you call to request. You will be seated in the bulkhead area where they to attach it to the wall in front of your seat. The great thing about this is even if your child doesn’t use the bassinet, the bulkhead area has extra leg room for you and space for your little one to move around freely.
Luckily on our flight, the bassinet went up to 40 pounds. We tried to put Olive in there for naps but she refused to sleep in it. Much preferred to lay on me! The bassinet is best for younger babies, but if your toddler is within the weight limit, request it. You can always opt out of having the bassinet but will still have the additional space! We put a baby blanket down on the ground in front of us with toys. Olive could walk in that area and play, literally a lifesaver!
3. Maximize your odds of getting an extra seat
Luckily, even if you choose not to buy a seat for your toddler you may still have a good chance of getting one. If you’re traveling with your husband, partner, or family member it’s best for you to book a window and aisle seat for the two of you near the back of the plane. Choose a row that has an empty middle seat between. Middle seats are typically people’s last choice, so those are more likely to be left open. Giving you the chance to have an extra (much needed) seat for free. If someone does happen to book the middle seat, they will gladly switch with you taking a “better” aisle or window seat so you can still sit next to your family member. Win-win.
Additionally, if there are empty seats on the flight, most airlines will give priority to families traveling with lap children. When you arrive at your gate ask the gate agent if there is anyone seated next to you. If so you can ask them if there are any empty rows on the flight. In my experience, if there is one row with an empty seat they will switch you. Families tend to get priority.
4. Decide if You Want to Bring the Car Seat
We were traveling with so much already so we opted to leave our car seat at home and rent one with our rental car. If you’re renting a car at your destination simply request a car seat. One less thing to carry through the airport.
As I mentioned, before Olive turns two we’re taking advantage of her being able to fly as a lap baby for free. If you choose your sanity over your budget ; ) and buy a seat for your child, you can choose to bring your car seat to use on the plane. This is the safest way for a toddler to fly and gives you a way to contain them and strap them in for sleeping. Your child’s personality will decide if this would be a good option, i.e., if they would go into their car seat without a fight! If they will, you all may get some much-needed rest.
3. Leave early and plan to spend the day traveling
We flew out of LAX so had a two-hour drive to Los Angeles from Santa Barbara. We left early to avoid traffic and give ourselves plenty of time to stop for food, use the restroom, and let Olive run around (crucial before a long flight.) Once we arrived at the airport we had to check-in, go through security, customs, and make it to the gate. Since you can’t predict security lines, especially for international flights, it’s always best to leave early and give yourself ample time.
4. Gate check your stroller and car seat
Having a stroller in the airport allows you to carry other items and contain your child until you reach security and your terminal. Trust me, you don’t want to roll a suitcase, carry bags, and chase a toddler around in the airport! Luckily, airlines allow you to gate check your stroller, meaning you can stroll right up to the gate, unload your child, and hand them the stroller right before you board. They stow it under the plane and you receive it when you deplane at your destination. You can use it again at the next airport. Gate checking can also lessen wear and tear on your stroller that tends to happen from the traditional bag check. I recommend buying a stroller bag as well to protect your stroller. As a bonus, you can throw a few additional items in the bag if needed! We added a bag of diapers and wipes, freeing up space in our suitcases and carry-ons.
5. Cut the lines and board first
One thing you may not know about traveling with young children is you get VIP airport treatment! When you check-in and go through security typically an attendant will escort families to the express line. Meaning you don’t have to wait in line! This is a MAJOR time saver for exhausted parents traveling with little ticking time bombs that may need to eat, poop, cry or scream at any moment. Additionally, almost every airline has priority boarding for families traveling with small children. Once you reach your gate and boarding starts you can board first! This gives you time to stow your belongings in the much-needed overhead bin space and get your baby settled before there’s a crowd.
6. Bring snacks, lots and lots of snacks
Airplane meals are not provided for a lap baby, and the child meal (which would be included as your 1 meal) may not be what you would want to feed your child anyway. Luckily, when you’re flying with a young child you’re allowed to bring a certain amount of food, this includes formula or breastmilk if needed. If your baby is still on purred foods you can bring pouches and jarred baby food, they also provide some on the plane! Since Olive was 15-months and eats table foods I packed peanut butter sandwiches, cooked sweet potatoes, cooked pasta, fruit and veggie pouches, dried fruit, rice puffs, string cheese, and granola bars. They allowed us to bring all of this on without question.
7. Bring “travel” toys, and preferably something new
I’m not usually one to encourage buying new toys often, but when you’re on a plane with your wild toddler running around like a puppy after a bath, you will do just about anything. Before we went to Australia I searched high and low for toys that would encourage imagination and self-play. By that I mean anything that would keep Olive happy during the flight! In addition to books and a favorite stuffed animal, here are the travel toys that worked well for us.
8. Bring a baby carrier
This only pertains to toddlers under 2. Once Olive climbed past the 25-pound mark we stopped using the baby carrier often, but when traveling the carrier can be a useful tool for keeping your toddler contained, helping them sleep, and freeing your hands. Even if you don’t use the baby carrier anymore, bring it for your flight. It’s also great to use at the airport. You won’t be able to use it during takeoff or landing, but will come in handy during the flight as well as getting on and off the plane in those tiny aisles with bags in hand.
9. Leave the nap schedule at home
I keep Olive on a fairly strict nap schedule when we’re home, but things change when we’re traveling. Depending on what time your flight is and for how long, your little one may miss their usual nap. Some children sleep great on planes because of the white noise and movement, while others are too excited to even think about sleep. If your child seems tired of course try for a nap, but if they are fighting it meltdowns can ensure. Sometimes it’s best to let them guide when they will sleep.
Olive was up later than her usual bedtime because our redeye flight left at 10:45pm. She was overtired and ready to sleep. Once we took off and the lights turned down, she eventually fell asleep! (after a lot of effort on our end) She slept for 7 hours, leaving 7 hours of wake time. Our trip back was a different story because it wasn’t a redeye. Instead, a 14-hour flight during the day! She was enamored with the new environment and all the new faces so had no interest in napping. After some time we could tell she was getting to the point of NEEDING a nap. I put her in the baby carrier and walked up and down the aisles until she fell asleep.
10. Try to relax and enjoy your adventure
Traveling with a toddler can be overwhelming, and at times, very trying. It’s also extremely fun and an experience you and your family with forever cherish. When all is said and done, there is only so much you can control. During the hard times remember being stuck on the plane is temporary and you will reach your destination soon! Try to relax and enjoy your travels. I hope this traveling with toddler guide helps you confidently explore the world with your little one.